Crestron
Schakelaar
HR-310-BTN
Crestron HR-310-BTN Handleiding
Hier is de Crestron HR-310-BTN (Schakelaar) gebruikershandleiding. 2 pagina's in taal Engels met een gewicht van 311,330.0 Mb. Als u geen antwoorden op uw probleem kunt vinden Vraag het onze community.
Pagina 1/2
HR-310-BTN
Engravable Buttons for HR-310
Installation Guide
Product Page Instructional Video
Description
The Crestron
®
HR-310-BTN BLANK and the HR-310-BTN ENGRAVED are sets of blank and engravable buttons,
respectively, that are designed to replace the default button set installed in an HR-310 or HR-310-I handheld remote
(not included). Each button set contains nine congurable hard buttons. A custom-engraved button frame that
secures the custom button set to the remote is also included with each engraving order.
Customized hard buttons for the HR-310-BTN ENGRAVED can be created and ordered using Crestron Engraver
software. For more information, refer to the Crestron Engraver help le that is packaged with the software.
Installation
Use the following procedure to install the HR-310-BTN in an HR-310 or HR-310-I remote.
NOTE: To view an instructional video showing these steps, visit https://vimeo.com/250110905, or use a QR reader
application on your mobile device to scan the “Instructional Video” QR image located in “Additional Resources.”
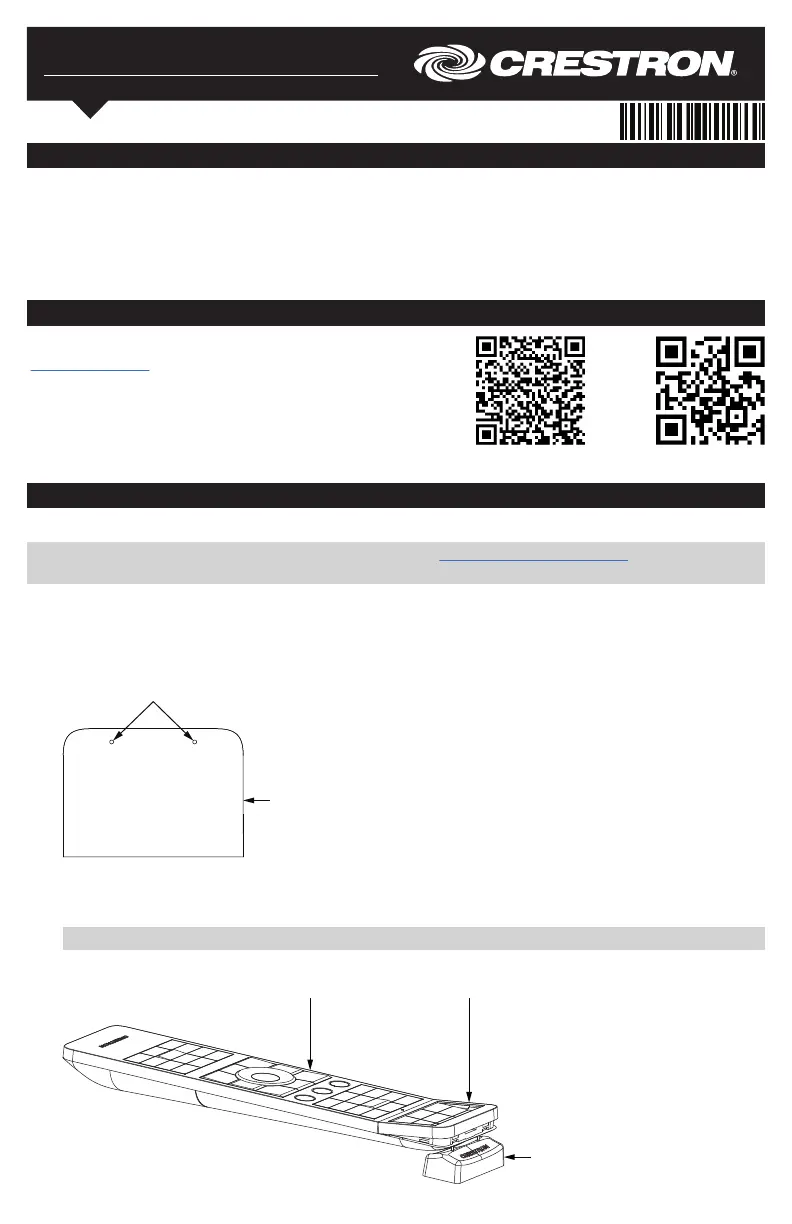
1. Align the two pegs on top of the included button removal tool with the two small holes on the rear of the remote
(behind the button cover).
Aligning the Button Removal Tool with the Remote
Additional Resources
Visit the product page on the Crestron website
(www.crestron.com) for additional information and the latest
rmware updates. An instructional video showing how to
install the HR-310-BTN buttons into an HR-310 or HR-310-I
remote can also be viewed. Use a QR reader application on
your mobile device to scan the QR images, or click the QR
images to load the web pages.
Button cover
HR-310-BTN
button removal
tool
HR-310/HR-310-I
2. Place the button removal tool on a at, level surface. Then, use two ngers to rmly press down on the left and
right buttons in the middle row of removable buttons on the remote until the frame pops up. Refer to the
illustration on the following page.
NOTE: The button cover can be removed only using the button removal tool.
Removing the Button Cover
HR-310/HR-310-I
(top rear view)
Align top pegs on
button removal tool
with these holes
Probleemoplossing Crestron HR-310-BTN
Als je de handleiding al zorgvuldig hebt gelezen maar geen oplossing voor je probleem hebt gevonden, vraag dan andere gebruikers om hulp
Specificaties
| Merk: | Crestron |
| Categorie: | Schakelaar |
| Model: | HR-310-BTN |